早期 Ubuntu 修改主機名稱需要透過修改 /etc/hostname + 使用 hostname 指令才能完成,在某些情況下甚至需要重新啟動系統。而在 Ubuntu 13 以後的版本可以透過 hostnamectl 一個指令完成這件事情,且不需要重新啟動系統。
 1
 2
 3
 4
 5
 6
 7
 8
 9
10
11
12
13
14
15
16
17
18
19
20
|
hostnamectl [OPTIONS...] COMMAND ...

Query or change system hostname.

  -h --help              Show this help
     --version           Show package version
     --no-ask-password   Do not prompt for password
  -H --host=[USER@]HOST  Operate on remote host
  -M --machine=CONTAINER Operate on local container
     --transient         Only set transient hostname
     --static            Only set static hostname
     --pretty            Only set pretty hostname

Commands:
  status                 Show current hostname settings
  set-hostname NAME      Set system hostname
  set-icon-name NAME     Set icon name for host
  set-chassis NAME       Set chassis type for host
  set-deployment NAME    Set deployment environment for host
  set-location NAME      Set location for host
|
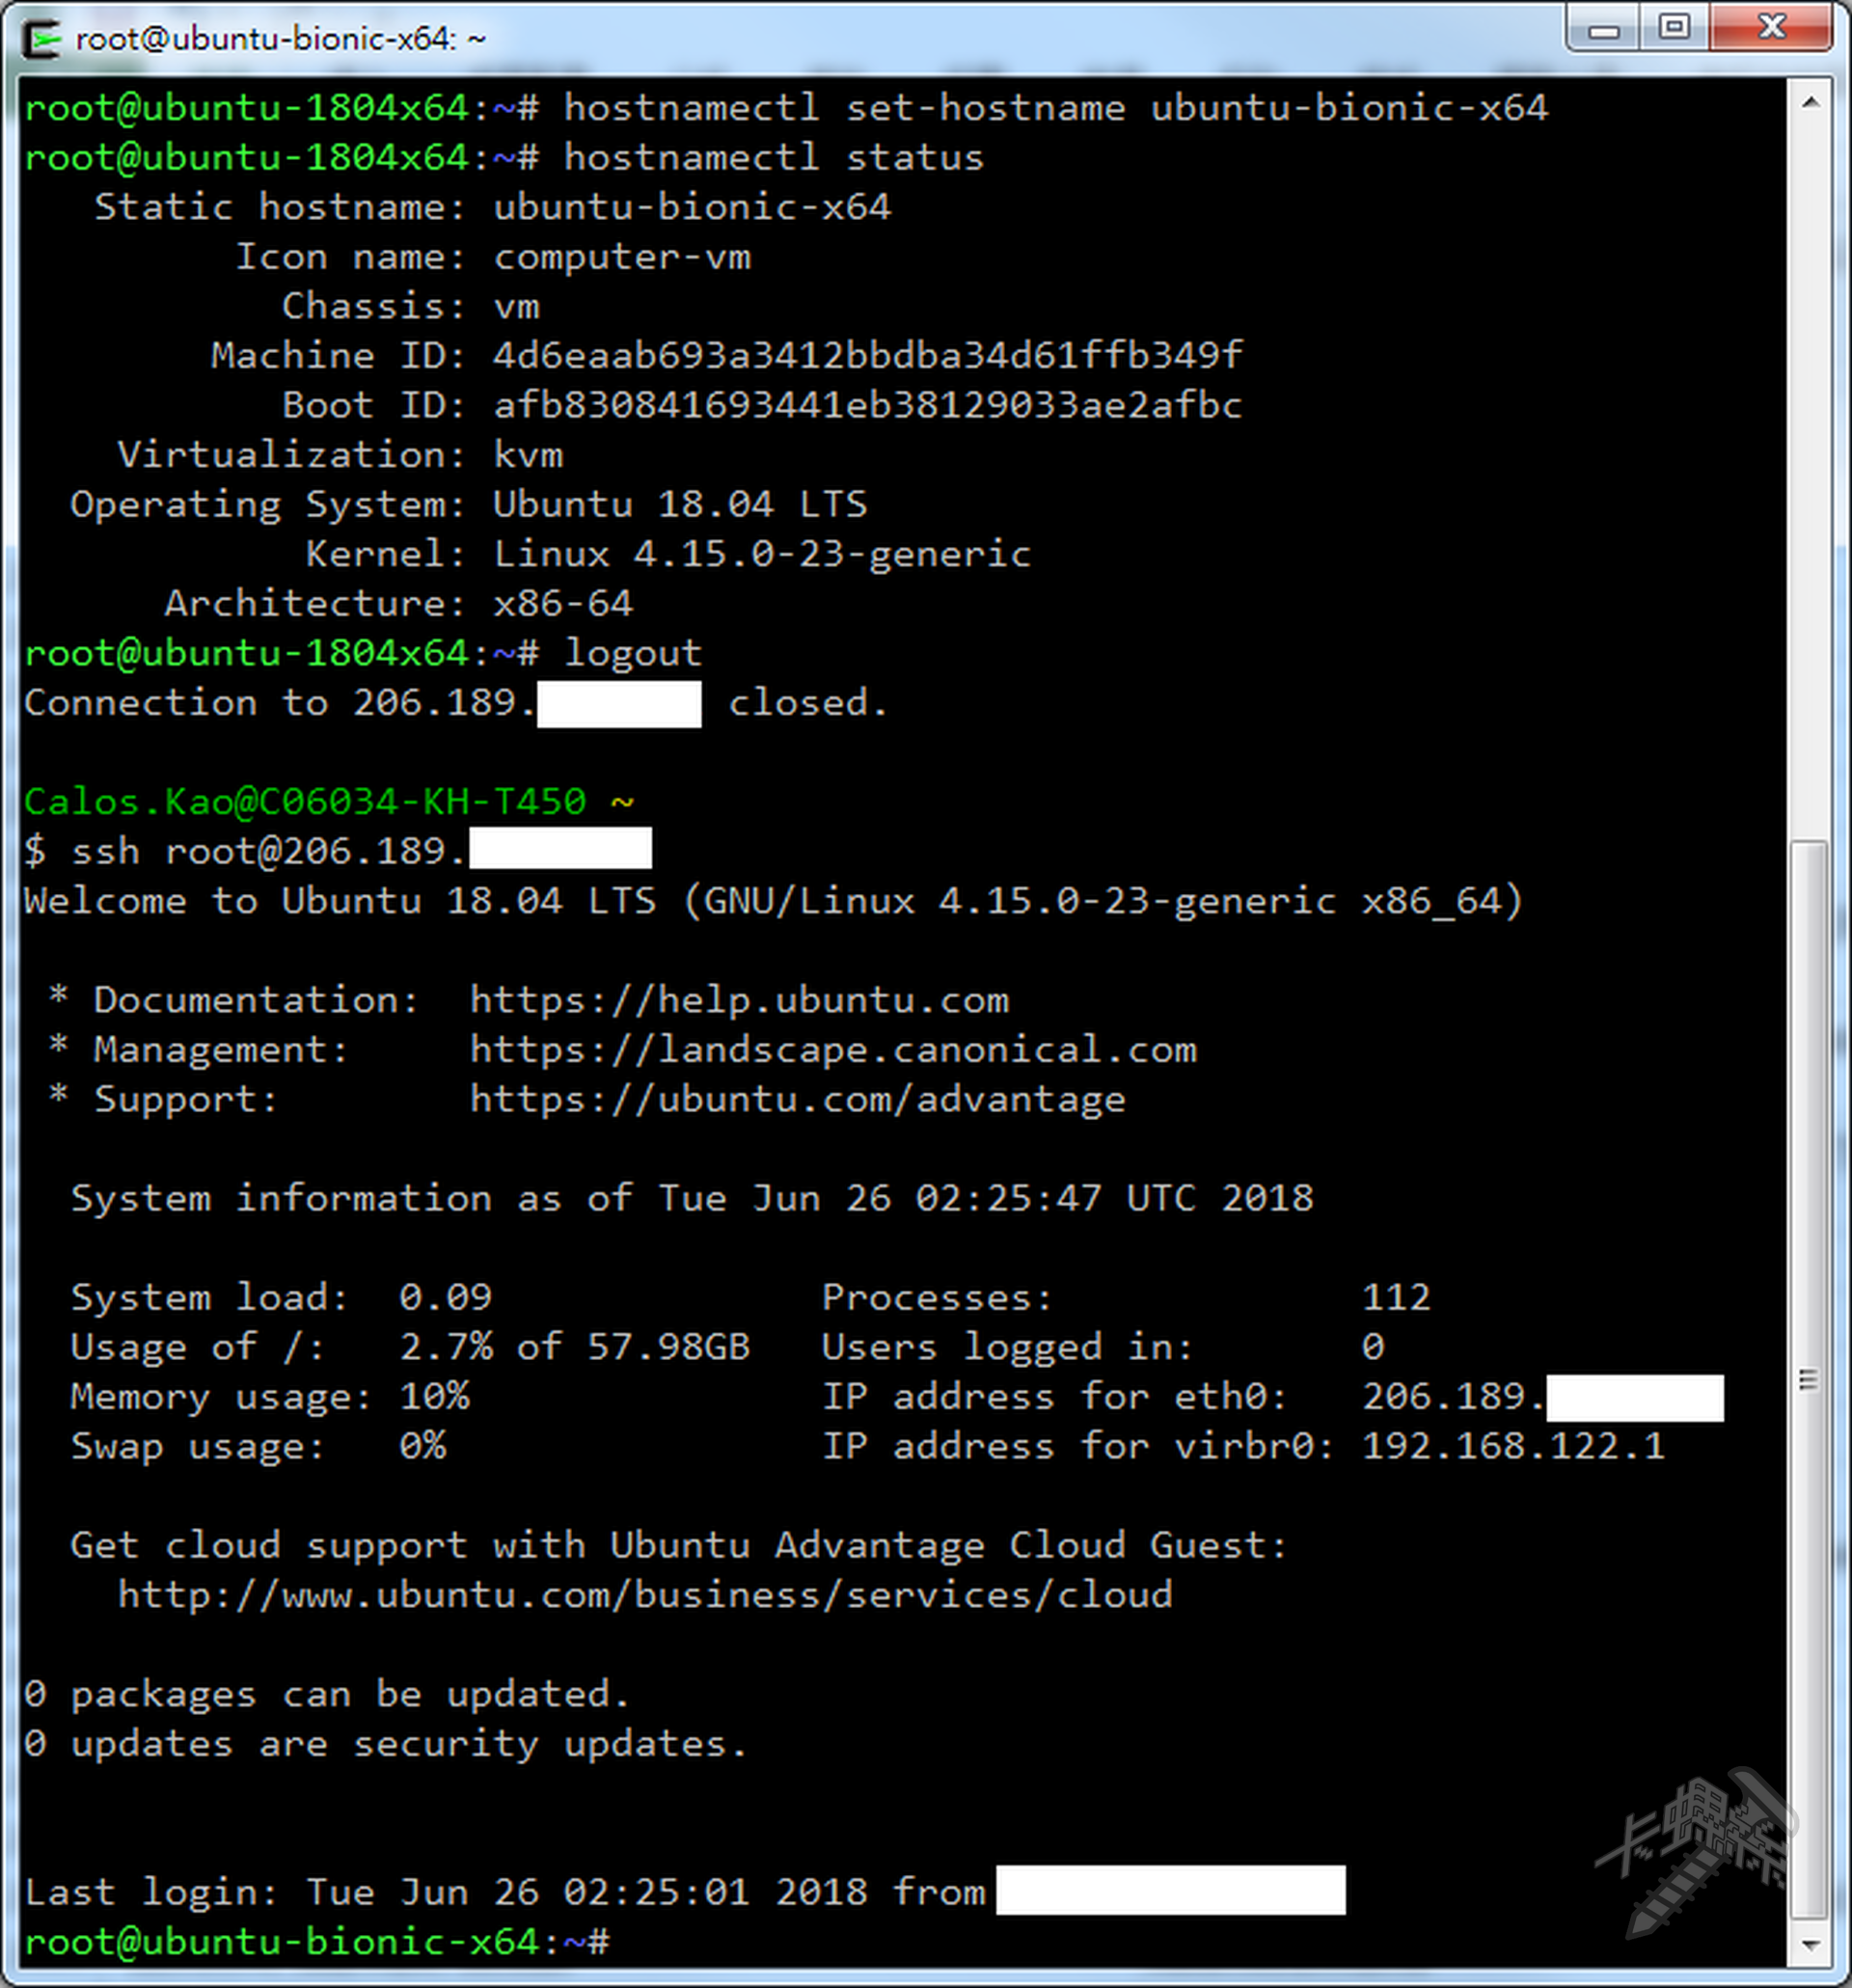
例如,把主機名稱修改成 ubuntu-bionic-x64:
1
|
sudo hostnamectl set-hostname ubuntu-bionic-x64
|
這時候終端機還看不出變化,我們可以用 hostnamectl status 檢查有沒有修改成功:
1
2
3
4
5
6
7
8
9
|
   Static hostname: ubuntu-bionic-x64
         Icon name: computer-vm
           Chassis: vm
        Machine ID: 4d6eaab693a3412bbdba34d61ffb349f
           Boot ID: afb830841693441eb38129033ae2afbc
    Virtualization: kvm
  Operating System: Ubuntu 18.04 LTS
            Kernel: Linux 4.15.0-23-generic
      Architecture: x86-64
|
檢查結果是有修改過的,登出後重新登入主機就可以看到終端機的主機名稱修改成功,完整過程如下圖。

References:
